Showing posts with label recipes. Show all posts

Wednesday, December 17, 2014

Chocolate Covered Caramel Wrapped Marshmallows- AKA The Scotchmallows

When I was younger my aunt worked for See's Candies. This meant every Christmas there would be some sort of sweet treat for each family and one of those tasty lollipops or a small assortment of candy sticks for each of us children. Even Easters would involve some of the dotted gum drops and of course... those lollipops.

With every mall visit, I was always so happy to stop by the See's shop and get my free piece of candy, as I grew older I still made it a point to drop by See's with every shopping trip, only this time to purchase candy out of guilt for all the free candy I had eaten through the years.

 From Apricot Delights, to Mint Truffles to Marsh Mints to well... just about any other candy they had there... my favorites changed just about every season :)

One of my consistent favorites has been the Scotchmallows. I mean who doesn't love butter caramel, wrapped around a sweet marshmallow and then dipped in dark chocolate?

Once in a while I will get a craving for something and I just have to make it. A few weeks ago it was for These Scotchmallows in which resulted in an in depth research project via the internet to find just the right recipe.

This recipe is a hack in order to make these beauties quicker and easier. Of course the original is much more flavorful, but momma doesn't have time for that.... so this recipe offers the flavor of homemade with the convenience of store bought for a few steps.

DIY Scotchmallows 


Ingredients:
1 cup- Ghirardelli's semi-sweet chocolate morsels
1 bag- mini marshmallows

PLUS

Caramel: (Recipe found at Not So Humble Pie)

2 cups granulated sugar
2 cups heavy cream
1 cup light corn syrup
1/2 teaspoons salt
4 1/2 tablespoons unsalted butter
generous pinch salt

Find full recipe for caramel here.


TIPS: The recipe is really easy to follow although time consuming. I recommend following the recipe and timing as recommended as it really does take some time to let the caramel slowly cook. Also you will want a clean, flat area to let your caramel rest. A marble slab or greased pan are recommended in the recipe. Since I don't make enough candy to justify a marble slab I used some plates that were greased and still had some issues with the caramel sticking. Even if the caramel sticks, you can still pull most of it off and use it. You might want to heat the dish up a bit to help release your caramel. Just don't heat it to much as you want your caramel to be firm yet pliable when you are working with it.


Once you complete the caramel, it has cooled and is ready to be worked with it is now time to wrap your marshmallows. This is where store bought comes in great. The original recipe (above) has some great homemade marshmallows that would be HEAVEN in your candy... I just don't have the time or patience right now to add it to my recipe and found that in a pinch... the mini marshmallows (if fresh) worked well and were very well received.


After you have wrapped your caramel around your marshmallows. prepare your chocolate by melting it according to the directions on the bag. I would start with 45 seconds in a microwave and progressively add more time in 15 second increments as needed. If you are using more than 1 cup of chocolate than you might want to double the initial time.


To dip your caramel wrapped marshmallows use two tooth picks to help you roll and stabilize your bon bon as you cover it with chocolate. 


Allow your chocolate covered caramel marshmallow dry on wax paper and cool at room temperature. If your chocolate is not setting correctly, you can move it to a cool refrigerator but make sure to allow your candies to settle at room temperature before serving them. The caramel will harden when cooled and will not be fun for guests to take a bite out of (ouch!).


This may seem like a time consuming recipe but it is actually pretty easy and super yummy. I hope you'll give it a try... it truly is worth it!

In case you missed past years recipes.... Find them here.


These recipes are some of the most pinned and viewed posts on my site PLUS a favorite for our family and friends too...

Wishing you some wonderful baking fun this season!

~Liz ♥


Monday, November 4, 2013

Creative DIY- Handmade Holidays

I want to take a moment to share with you one of my FAVORITE recipes for the holidays. Now for those of you who have followed my blog for a while may recognize it, but I just want to take a moment to re-share it since it is the perfect time of year. This recipe really works great for all of the holidays but with Thanksgiving rounding the corner this is a sure hit.


You can find the recipe on the link but here is a great picture of the pies before they went into the oven to give you an idea of just how amazing they all are ♥


I have teamed up with some of my creative friends to collaborate on a new project. We will be sharing some Creative DIY inspirations on a regular basis as a group...


So make sure to check out the Creative DIY teams sites:

Eileen Hull
Jonathan Fong
Tanner Bob Bell
Jennifer Priest
Norma Rapko
Jen Cushman


Since we all have a different type of craft or industry, this makes for a very versatile group. And I have to say... talented too! I am very blessed to be able to work with these crafters.

If you have a chance, check out their blogs and share some love... I would love to hear your thoughts on what we are up to!

~Liz ♥
Thursday, October 3, 2013

Fall is in the AIR... (Family Fun Time)

 So being from California, I am still getting use to the fact that I now live in a state that offers a true Fall/Autumn season. Although this year may be a short Fall, it is still gorgeous to see the trees turn colors, the mountain sides glow with different trees and the crisp sweet air that only fall can bring.

This weekend we have a chance of snow, yup you heard me SNOW. So in order to truly share what I have loved about our fall so far I thought I would write it in a post. We do get snow here early, but non the less.. until the last leaves fall it will still be Fall to me.

Fall brings the start of school, and well all that school offers. This year our kids are involved in a lot of activities which keep us super busy in the afternoons. Our daughter is in Soccer, Running Club and will begin Girl Scouts soon. Our middle son just finished his summer schedule of little league and is involved in Running Club as well as the TV broadcasting program at school. Our eldest is in Band and WAVE (aerospace enrichment program).

Soccer... this is our daughters favorite. I love that she is now feeling that confidence of playing and recognizing what to do.

This shot was from last weeks game. I just love how the beautiful colors of Colorado show through on this pic (no filter or edit).


In the Fall we also prepare for Halloween and costume parties. We love dressing up and although we don't participate in the goriness of the holiday, we still have fun dressing up and having fun with friends. Our daughter is using my old costume from a few years back and is going to be a flower witch.


 Fall also ushers in the baking season for our family. We love cooking and being that we watch our budget, we try and come up with health recipes that the whole family loves. This last week me and my daughter made an Apple Crumble.


It is a family favorite and tradition...well as long as daddy doesn't eat it all :)


Fall brings in a whole new vibe for our family. It is almost like a new year as we re-prioritize our lives, begin new traditions and prepare for the cooler months to come. Fall is such an amazing time of year. I can't help but love everything about it. (Especially the fashion and being able to wear boots and coats again!).


Here is a gorgeous picture of some crumbles we made for friends a few years back... it is a yummy and super easy recipe.


For the recipe check out my blog post here. Liz Hicks Apple Crumble Recipe

I would LOVE to hear about your family and Fall... Leave a comment and let me know any recipes or traditions that your family share this time of year.

Thanks!

~Liz ♥

Thursday, September 19, 2013

Good Morning Green Juice Recipe


Last year when I was sick I had a really tough time keeping any food down. My mother in law sent us home with her juicer in hopes that I could at least get some sort of nutrition into me.

My husband has now fallen in love with juicing and today I want to share with you one of our families favorite fruit juices.

A little back story... This juice was inspired by a breakfast I had while I was in Norway teaching mixed media courses. At breakfast they had little glasses of juice and one of them was this sweet green juice. I tried my hardest to be polite and only take one, but the glasses were small and well 1 turned to 2 and then three....

Well I brought back the basic recipe to my family and together we have adapted it to create our own version of this tasty green drink (I can now drink as much as I want! lol)

Here is our version:

  • Honeydew (peeled)- 1/2 a melon
  • Pineapple- 1/2 (cut of top, bottom and skin)
  • Green apple- 2 mediums
  • Lime (peeled)- 1 medium
  • Fresh ginger- a cut equivalent to 1 Tbsp
  • Kiwi (peeled)- 1-2 full  (optional for added sweetness)

This yields about 5 cups of juice and we use a Jack Lalanne power juicer.

This is one juice our whole family will drink (which is a toughy)

It is sweet yet the citrus and ginger promote a healthy immune system. All in all, it is a great way to get something good in you at the start of your day.

Wouldn't you agree?

We love juicing and hope this recipe is as good for you as it is for our family.

XOXO

~The Hicks Family (written by Liz)

Monday, December 3, 2012

Dark Chocolate Ganache Truffles Recipe

Within my down time, I have had some fun experimenting with some recipes. Tonight we have a Cookie Exchange in our neighborhood and although it is cookies that are exchanged... I have yet to make a cookie. Last year I made these Oreo Mint Truffle Cake Pops and the year before it was my Peppermint Cookie Crunch Bark. I guess I am just a rebel like that. This year I decided to create this recipe for Chocolate Truffles by Food Networks Ina Garten. Although that was the plan... I ended up changing things up a bit and adding my own twist.

Dark Chocolate (Chili) Ganache Truffles
yields about 4 dozen


Let me start off by prefacing this recipe as the combination of a few different obsessions that I have found myself guilty of.

  1. I love chocolate. Period.
  2. I watched Chocolat once about 10 years ago and became OBSESSED with the idea of chili chocolate... So much that when I was pregnant with our second son I craved it and unfortunately it was not popular then and I couldn't find it anywhere (this was in my pre-make-it-myself days).
  3. Ganache. I finally learned what this creamy goodness was called a few years ago (after eating a box of truffles one Christmas with my Mother in Law, pretty sure I ate more than her, lol). 
So with these few details swirling in my head it was just a matter of time that they all surfaced at once in the form of a new obsession... to create a truffle that was sweet with a mild spicy kick.

Ingredients


Instructions

Chop Chocolate bars and Chocolate chips so that it can easily melt. I recommend using a food processor if possible, if not pieces like the size shown below are easy to cut with a knife. Place all chocolate in a heat proof bowl.


Heat the cream in saucepan just until it boils. Turn off the heat and allow the cream to sit for 20 seconds. Pour the cream through a fine-meshed sieve into the bowl with chocolate. With a wire whisk, slowly stir the cream and chocolates together until the chocolate is completely melted. Mix in vanilla. Set aside at room temperature for 1 hour.


This is where I had a little trouble, and well I think it had something to do with the fact that I was creating a double batch of the original recipe, so I gauged my wait time until my ganache had settled up a bit. By this I mean that it had been allowed to solidify a bit and become maliable with your hands to shape. I recommend starting by allowing your chocolate to sit at room temperature until you can scoop your ganache and not have the remaining ganache fall within where you scooped (so it is just a little solid). Take a regular table spoon and scoop out enough ganache to form your truffle, about enough to make a truffle about the size of a grape. Place spoon fulls on to a cookie sheet covered in parchment paper. Allow to harden in the fridge for about 30 minutes.


From here take the 1/2 cup of cocoa and powdered sugar and mix thoroughly together in a bowl. Take each spoon full of ganache and place it in the powdered mixture one at a time, first coating them pressing ganache into a circle. Once formed, coat again with powdered mixture. Place on a new piece of parchment paper on your cookie sheet. Once all truffles are rolled. Place your treats into your refrigerator and allow them to harden. I recommend allowing the truffles to set overnight or at least until they are firm. The original recipe states to serve at room temperature, but I would serve them fresh out of the refrigerator. I kind of like them a little more firm.


I hope that this recipe finds you well and hungry... Let me know if you try it out, it is messy, tempting and addictive... but a worth while recipe to spend some time and have fun with. I am using this as my gift giving recipe for the year. I think that these will bring a lot of smiles this Christmas :) If you have ANY questions... feel free to email me and I would be happy to help :)

Thanks for stopping by,

~Liz Hicks ♥

Monday, August 20, 2012

Nutella Rice Krispies Treats

A few weeks ago, I experimented with one of my favorite recipes, the oldie but goodie... Rice Krispies Treats. I attempted to add Nutella to give my buttery friends a nice toasted hazlenutty chocolate flavor. Unfortunately the results were well...not so good. The marshmallows I had used were not as fresh, and the Nutella had been in the fridge so it was hard to melt. Needless to say, we ended up with some tasty bricks that we still ate, although it took us about a week to finish them.

 I looked at the ingredients that I originally used and decided to re-work the recipe, after all this was way to good of a possibility to pass up. I mean seriously, have you ever heard of anything sounding better? The final recipe was worth passing on to friends, since unlike the last batch... these puppies only lasted hours and everyone was very happy with them!


So Here is my re-worked recipe that I do have to say... I pretty tasty.

Nutella Rice Krispies Treats

ingredients: 

  • 4 Tbl. of Butter
  •  3 Tbl. of Nutella
  • 40 large marshmallows
  •  3-4 cups of Rice Krispies (use 3 add more if moist)
  1.  Melt butter on medium heat
  2. Add Nutella and mix completely. Make sure to continue to stir as the Nutella will want to stick to pan
  3. Add marshmallows and stir until completely melted, turn down heat if needed
  4. add rice krispies and mix thouroughly
  5. press mixture into greased 8x8 pan

And for fun, I made a cute recipe card for you to print up. It is a 4x6 card. If you would like it, just click on the picture of the recipe card and right click and save :)


Tips for those using this recipe (probably no brainers, but stuff I had to learn the hard way):

  • Use fresh marshmallows  (not some that you had left over from a bonfire... like I did)
  • Use regular rice krispies (not chocolate because it is what you had on hand... like I did)
  • Use room temperature Nutella (not stuff that was out of the refridgerator and COLD... like I did)
  • Add rice Krispies as you desire (not the full 4 cups as the original recipe said, again... like I did)
I think with this recipe, and the tips above... you will find some beautiful treats that will melt in your mouth :)

Enjoy!

~Liz

Wednesday, December 14, 2011

Peppermint Cookie Crunch Bark (AGAIN)

Every year right around Thanksgiving I notice that my stats on my blog go up and that the common search is for my Peppermint Cookie Crunch Bark recipe.

This year I was fortunate enough to have been asked to share some of my "awesome things" on the Brave Girls Club Blog. Of course... the cookie bark came to mind :)

So here is the link to last years post... Let me know if this is your first...third or fifth year making it... I love hearing the stories behind the giving of bark.


Make sure to check out the Brave Girls Club Blog and see all of the amazing AWESOME things they are sharing. It is one of my favorite things that they do, because no matter what... it just makes you smile.

~Liz ♥

Tuesday, December 13, 2011

Oreo Mint Truffle Cake Pops

If we are friends on facebook than you saw that yesterday I attempted to make cake pops. I had never tried cake pops before, mostly because I am a cupcake snob and well... the thought of simple cake on a stick just didn't cut it for me. This past Sunday at church cake pops were served at a reception our family and friends attended, and well... who am I to pass up cake?

I had NO IDEA that cake pops were more than just cake. That they were actually moist tidbits of heaven covered in chocolate. At this point I was hooked... if you are anything like me than you can understand how this simple encounter now became an obsession. If there is ever a time that I find something that interests me... I have to figure out not only how it works, how it is made, what are my options and just how much I can customize it to my liking. So with this in mind, we stopped by the store on the way home from church picked up some simple ingredients and I challenged myself to come up with a recipe I liked in time for a neighborhood cookie exchange I was attending Monday night.


So between this all, I posted on facebook for any pointers on making cake pops. Here is the recipe I came up with along with some pointers that really helped me with my prepping. I adapted this from a truffle recipe I have used for some years now.

Oreo Mint Truffle Cake Pops

ingredients:
1 package of oreos (I used mint oreos, you could use whatever you like) crushed and separated (for fill and topping)
2 blocks of Cream Cheese
1 13x9 fresh baked devils food cake
2 bags of nestle dark chocolate mint chocolate chips
Andes mint (garnish if desired)

supplies:
wax paper for drying
candy/lollipop sticks

Bake cake according to directions. When done, take cake while warm and place in large mixing bowl. Add in two blocks of cream cheese as well as Oreo cookie crumbles (all but 10 cookies, leave 10 cookies crushed for topping if desired). Once fully mixed, take mixture and create bite-sized balls and lay on baking sheet covered with wax paper. Recipe should yield about 50 bite sized pops. Let chill in refrigerator for an hour. One suggestion that was given to me by my facebook friend Marjorie was that if my hands started to melt my mixture, I could use ice cubes in paper towels to cool my hands down. I didn't have this problem like I thought I would, but if you do... this is great advice.


Coating:
For outer coating shell. Take your chocolate chips and melt starting with first bag (leave second for when needed). Start by placing entire contents of first bag in a pyrex measuring cup and melt for 1 minute. Chips will still be a little lumpy when done, mix with a sturdy plastic spoon and microwave in 10 second increments, mixing well in between. You should only have to microwave for 10 seconds beyond the minute, but if you do microwave more... just make sure your chocolate consistency is that of pancake batter, not to thick nor thin.


Once you have your chocolate ready take your cake balls out five at a time and begin topping them with chocolate. To top the with chocolate, I used a great recommendation from my friend Michelle on facebook and dipped my lollipop stick into the chocolate before plunging it into my cake ball.


Once your lollipop stick is in your cake ball you can begin to cover your cake pop with chocolate. For this I found it easiest to use a plastic spoon to cover my cake pop with chocolate. I also started from the base of my pop, making sure that my stick was covered and worked my way to the top. The nice thing about making these Cake Pops is that your chocolate doesn't have to be perfect, nor does your cake Pop have to be perfectly round. When you garnish it... it all just kind of comes together :)

Once you have your chocolate as you desire, quickly garnish with remaining Oreo crumbles and chopped Andes Chocolate Mints. Place finished pop on a Styrofoam base to dry. When you have all of your pops done, place Cake Pops in refrigerator until you are ready to serve. You can keep your pops on the Styrofoam to server or take them off and platter them.


So this is it!

A really fun and easy recipe, perfect for making with the kids or for a fun dish to share at parties. As I said before, I made these for our neighborhood cookie exchange and I have to say... they turned out very nice.


Here is my take from the Cookie Exchange... This is one of my favorite things about the holidays, and I am so grateful that we moved onto a street that shares this same sentiment. I love our neighborhood. I am always excited when we get together, so spending the time to experiment and make these fun Cake Pops is truly worth it for these special friends.

I hope this inspires you to experiment and take a chance on learning something new. I for one am really happy I took this chance to experiment... I look forward to coming up with some other fun recipes on a stick :)

Enjoy!

~Liz ♥

Tuesday, December 21, 2010

Day 6 and 7- two easy gifts and a WINNER

Day 6.... Inexpensive gift for a girl friend ♥

I found this great recipe for a facial scrub while surfing youtube.


video is from Kandee Johnson... If you love make up I highly recommend you follow her on you tube, she is so fun to watch and knows her stuff!

This is a great gift you can make ahead. Simply take some organic sugar, I LOVE LOVE LOVE using a course Turbinado brown sugar (You can find this in the bulk section of Whole Foods or any health food store) and mix it with ornanic lemon juice. I actually like to find a small mason jar, fill it with sugar and lemon juice to create a simple paste similar to other sugar scrubs you would find in bath or body stores. Since lemon is a natural preservative... this should last a while. You can even decorate your package for your friend, making it a little more custom.

Day 7- Yummy breakfast treats...

So this recipe came out of sheer desperation after I came home from Brave Girl Camp. While there at camp, each day the girls would prepare some amazing snacks for us. Once of these being an Apricot Brie Tart. Well these little guys stuck with me (literally, I think I gained 7 pounds on these alone!) after I came home. Now just the thought of trying to create a tart sends me into a state of panic, I love cooking and love recipes... but I need it to be simple, easy and well inexpensive.

So this is my easy-peasy knock of version of the Brave Girl Apricot Brie Tart recipe... perfect for the morning especially for those special guests who can appreciate carbs stuffed with fruit and brie (that was just for you Holli!)

Pretty self explanitory- take cresent rolls (highly recommend reduced fat, as this combo is NOT exactly low fat) , brie and apricot preserves (I have also used Marion Blackberry from Target that was AWESOME!)

Lay out your crescent roll as usual, but before you roll it from the bottom to the tip, add a chunk of Brie and a small amount of jam.

Next, start from the wide side of your crescent and roll towards the point, folding the point over your roll and making sure to pinch and secure all of the goodies that are inside of your crescent.


Next lay your yummies out on a cookie sheet and bake according to your crescent wrapper suggestions.


After they are done cooking, take them immediately off of your cookie sheet and lay them to cool on a plate.


These are just to yummy for words, and you will enjoy pairing these with a tall glass of milk or even bacon (If you just decide to throw all caution to the wind,lol)

I hope you have been enjoying the little bits of treasures that I have been sharing here... and now for our winner.. thanks to ALL of you for heading over to Vintage Street Market. I received an email for one of the owners, and she said that she was so grateful for all of the new followers. If you noticed, they are doing a Christmas countdown.. lots of cute ideas, you will love and be able to share for years to come!

So as promised, here is our winner!

I LOVE that vintage store - thanks for sharing and I 'liked' it on F/B also. Your kitty is SO beautiful (as is your gorgeous little girl) - I'm going to miss you at the Expo in Feb....Merry Christmas to you and your family!

December 19, 2010 12:49 AM

Delete
Blogger Shercara said...

What a beautiful story - and wonderful reminder of a great lesson. It does feel good to help others reach their dreams and goals and to be a part of that journey too. Love Elmyra Duff by the way -Thanks for the memory! Oh - thanks for the tips on Vintage goodies too! I "liked" them on fb too!

December 19, 2010 7:30 PM

Delete
Sherry, email or facebook me your address and I will get these fun goodies out to you!!! Also, Crystal... I will be getting your prize out at the same time.

Thanks for participating! I hope you all are enjoying your holiday season and finding peace and happiness ♥


~Liz ♥

Tuesday, December 14, 2010

day two- Love your neighbor ♥

So for today... I thought it would be fun to share another fun recipe. What you may have already figured out is that well... I like to cook, but I also like things to be easy. At this point in my life (and probably most of Americans too) it always seems like I just don't have enough time. Time is such a valuable commodity and I have had to learn the hard way that time is the one thing I can always use more of.

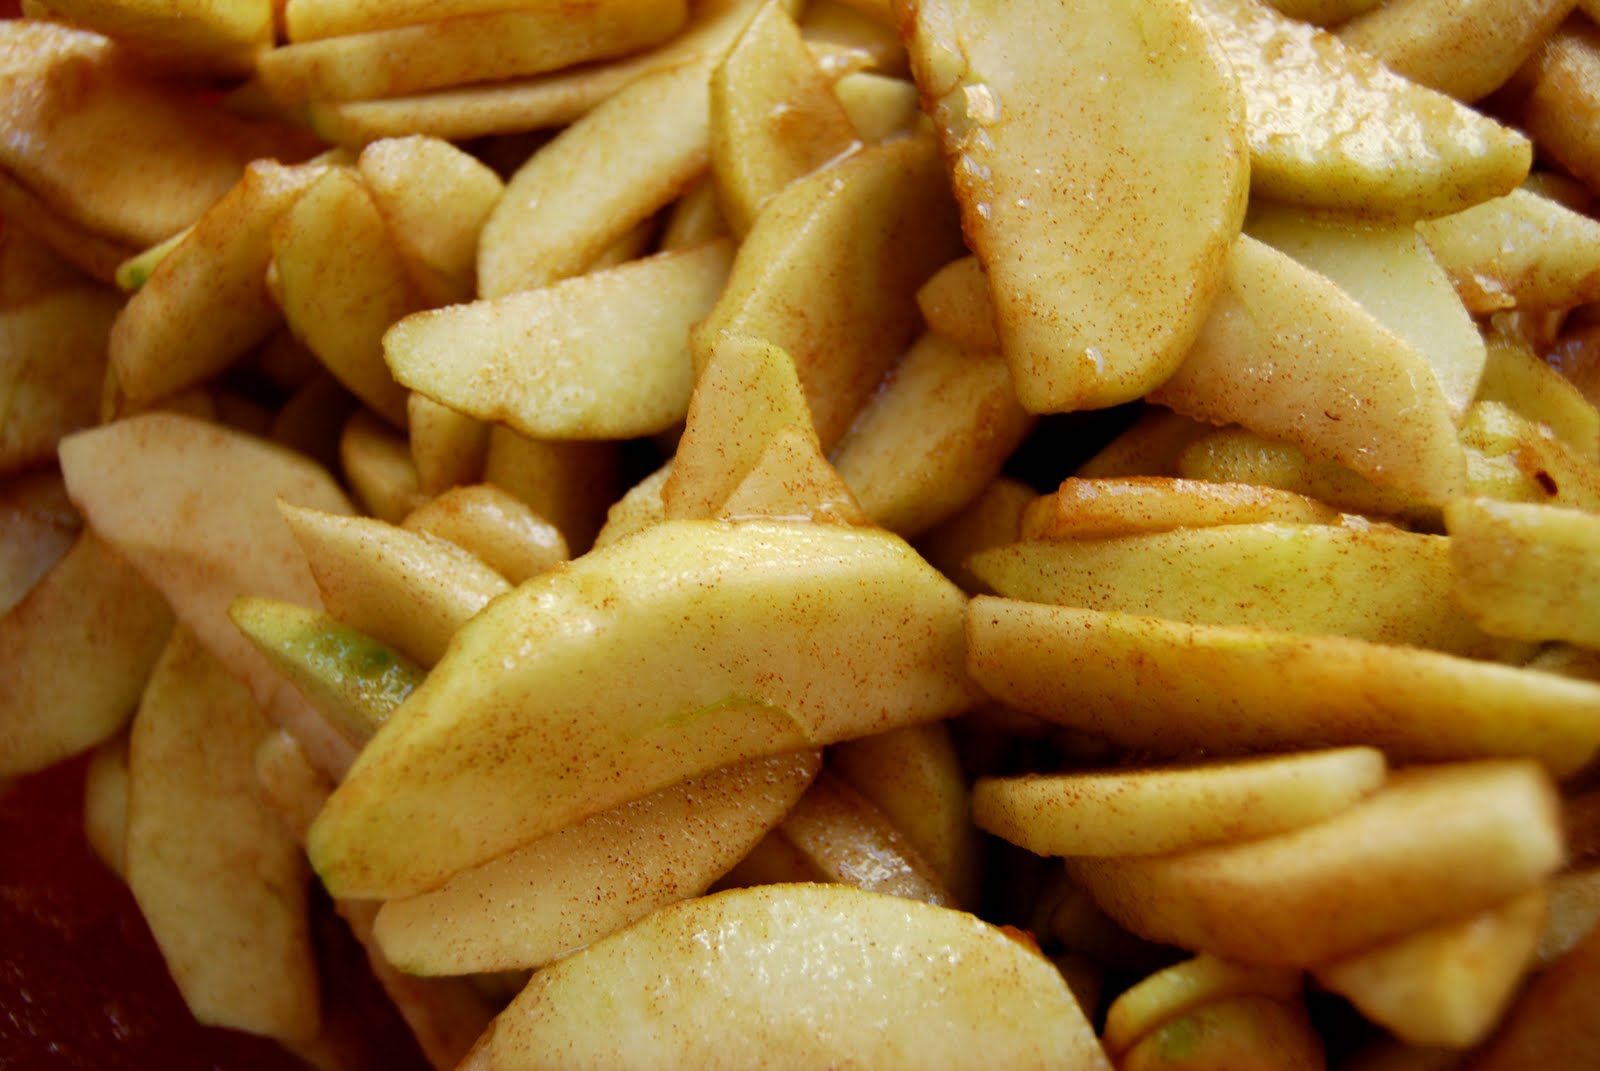
Well with this in mind, I combined two of my favorite recipes to create a quick, easy and yummy recipe for Apple Crumble. This takes no time at all (most of the time goes to peeling apples!) and bakes in no time. This is the perfect gift if you are heading to a friends house or need something a little more personal. I use to make this for our neighbors when we lived in California and it was always a hit.
Apple Crisp

Filling (my sister in-laws recipe):
5-7 apples cored, thin sliced and peeled


1/2 cup of sugar
1 tsp. Cinnamon


Mix all ingredients evenly and place inside of a pie dish, this should be heaping over.


Crumble topping(My friend Maryha's recipe):
In medium bowl cut in 1 cup flour, 1/2 cup butter softened (should look very piecey)

Next: Add 1/2 cup packed brown sugar, 2Tbl. granulated sugar, 1/4 tsp. ground cinnamon and a sprinkle of nutmeg.

Mix everything together so that the crumble is even and still piecey.


Next lay over the top of the apples and bake at 400 degrees for 25-30 minutes.


Nothing beats a good easy recipe. Especially with pictures!

I hope that this gives you an inexpensive and easy outlet for holiday gift giving. Homemade is so nice, and I am sure that your neighbor, teacher, friend, family member will appreciate anything handmade that you come up with because it is from you!

♥~Liz

Thursday, December 17, 2009

Another yummy inexpensive Christmas treat...

So this is a recipe that I found on the Prima blog a few years back, it is again so very easy and so very yummy! Check it out here:


Prima Christmas Tin and Oreo Cookie Truffles courtesy of Brittany Laakkonen

I hope that this is getting your creative wheels turning on some inexpensive yet yummy gifts to give for the holidays. I truly believe that hand made shows a certain quality that store bought just can not replicate.

I will try and whip up some samples of this truffle recipe to share pics with you all this weekend... Until then enjoy your sweet treats!

Tuesday, December 15, 2009

Once again, I bring you peppermint cookie crunch bark...

Back by popular demand!

So I have noticed that my site has been getting hits on my oldie but goody recipe for Peppermint Cookie Crunch bark. So I thought I would re-post it for our new friends to see. This was a recipe that I so easily developed after a trip to the cake decorating shop. I tried a sample of their peppermint bark and immediately thought, IT NEEDS OREOS! And so a yummy treat was born! Now not only is this a totally yummy treat, BUT it is also very inexpensive and highly addicting (like legal chocolate crack, seriously). So here it is, once again...


Peppermint Cookie Crunch Bark

1 lb. white chocolate melts
1/2 cup of peppermint crunch
1/2 cup of crushed oreos

Directions:

put white chocolate melts in a Pyrex dish and melt for 30 seconds and then mix. Continue to melt in 15 seconds increments until chocolate is smooth.

add crushed oreos and peppermint crunch and mix thoroughly.

lay out on waxed paper and spread out evenly to a 1/4 in thick layer.

let dry and harden for 45 minutes.

break up into pieces and eat till you get sick!

It also tastes really yummy melted in some hot chocolate! (seriously, this is awesome!)

Enjoy!

This is great for gifts. I split one batch of these up between 2-4 friends and it is always a hit!
The supplies you can get @ any cake store or even make yourself. Just make sure that they white chocolate is meltable (I think they sell this @ the grocery store or even @ joann's and Micheal's if you don't have a cake store handy). I even made my own oreo crunch by putting oreos in a zip lock bag and hitting it with a rubber mallet. Just make sure all of the air is out of the bag or else it will explode. You can do the same with the peppermint crunch, just use candy canes. And if they stick together use a little powdered sugar to coat the lightly.
have fun creating!


~Liz

Wednesday, December 10, 2008

Yummy recipe for the holidays~


(Argh you blogger!!! the pics are backwards, but I think you can get the idea!)


I have pics for two recipes, today's will be my favorite and totally yummy Garlic Mashed Potatoes. This recipe is super simple and absolutely a crowd favorite. There are definitely NO fat free, but in moderation... these are the best!
Garlic Mashed Potatoes
Ingredients needed:
5 lb package of Rose potatoes or baby red potatoes
(1) stick of butter (1/2 a cup)
(1) 8 oz container of sour cream
2-3 Tbsp of minced garlic ( I used Christopher Ranch which stays fresh nicely!)
Lawry's Seasoning Salt
First start by cleaning your potatoes. I peel and core out the eyes of mine, but you can keep a little peel in them if you'd like ( a little peel never hurt anyone!)
after you have your clean, peeled potatoes, cut them into quarters or depending on the size you can vary the portion as long as the pieces are about 1 inch to 2 inch cubes. cutting down the potatoes helps to cook them faster. Next, add your potatoes to boiling water, you will want enough to cover the potatoes. Cook until tender (about 20 minutes). You will want to make sure that you cook the potatoes all the way through as it helps when you mash them!
After you potatoes are cooked, drain and dry off the excess water. Begin mashing with a potato masher. From there add the butter, then the sour cream, garlic and season with Lawry's seasoning salt to taste. Mash until the potatoes are smooth and creamy and all the ingredients are blended. You can garnish with a little seasoning salt on top before you table the potatoes.
So there is a quick easy and impressive recipe to give you a nice holiday start! This recipe is a version of potatoes that I concocted to mimic a recipe from one of the restaurants that I used to work at. I use to love tasting yummy food and trying to figure out the recipe! I am sure there are plenty of other versions of this, so please feel free to share your favorites on this link! Also these are super yummy the next day covered in Cheese and bacon!!! I know totally fattening, but soooo good!
enjoy!