Showing posts with label scanncut. Show all posts

Monday, March 17, 2014

Lucky All Year Long...

As fun of a holiday St. Patrick's Day is... there really isn't a time other than today that you see shamrocks, green beverages and people dressed in green.

I like this fun little holiday because well, it breaks up the monotony of the year and like today... makes a Monday a whole lot more fun.

I like many other busy crafty moms... like to make the most of these one time events or items required for these types of events... so I took the theme and gave it a twist in this greeting card.


With this card, I wanted to make sure that I could use it beyond St. Patrick's Day yet still tie in a bit of ye' ol sentiment. I cut the same shape out of matte cardstock and glittered cardstock to create a monochromatic base.


I then added a simple title using the Roc-Lon MPC, it is similar to canvas and cuts beautifully.


And last, I added a sweet sentiment to change the feel of the card from St. Patty's to a sweet love note.


I like being about to take items that may only be used once a year and make other uses for them... I am sure I am not the only one, what are your thoughts on re-purposing holiday themes for other occasions?

For this and more projects check out my PINTEREST Boards

http://www.pinterest.com/lizmhicks/

Thanks for stopping by today... hopefully you do not get pinched too much today!


~Liz ♥

Friday, March 14, 2014

Birthday wishes from afar

Sometimes living 1500 miles away from family is a little tough, like on Birthdays. The kids are a bit young to realize how hard it is on our hearts to not be around our family. Most of the time they miss their cousins and grandparents but I don't think they truly realize how hard it is on the birthdays of our loved ones, and how both James and I wish that we could be there to share in the moments.

It is one of the hardest parts of living in Colorado. Family. We miss our family a lot, and although we have built a life here in Colorado, it truly is never complete without family.

This year, I had an idea to send a special birthday wish to James's dad. Today is his birthday and well, I knew he would be at work today... I asked a special friend that works in his office to help with a birthday surprise.

ScanNCut Birthday Letters

One thing that I loved about ScanNCut is the ease of use and that my kids could use it. I know it seems like an expensive item to let kids use, but with supervision I have enjoyed allowing my kids explore their creative sides and being able to create art along side with them.

Because of ScanNCut's built in 300 DPI Scanner and ease of use, this birthday project was super easy and took just a few minutes for the kids to create.

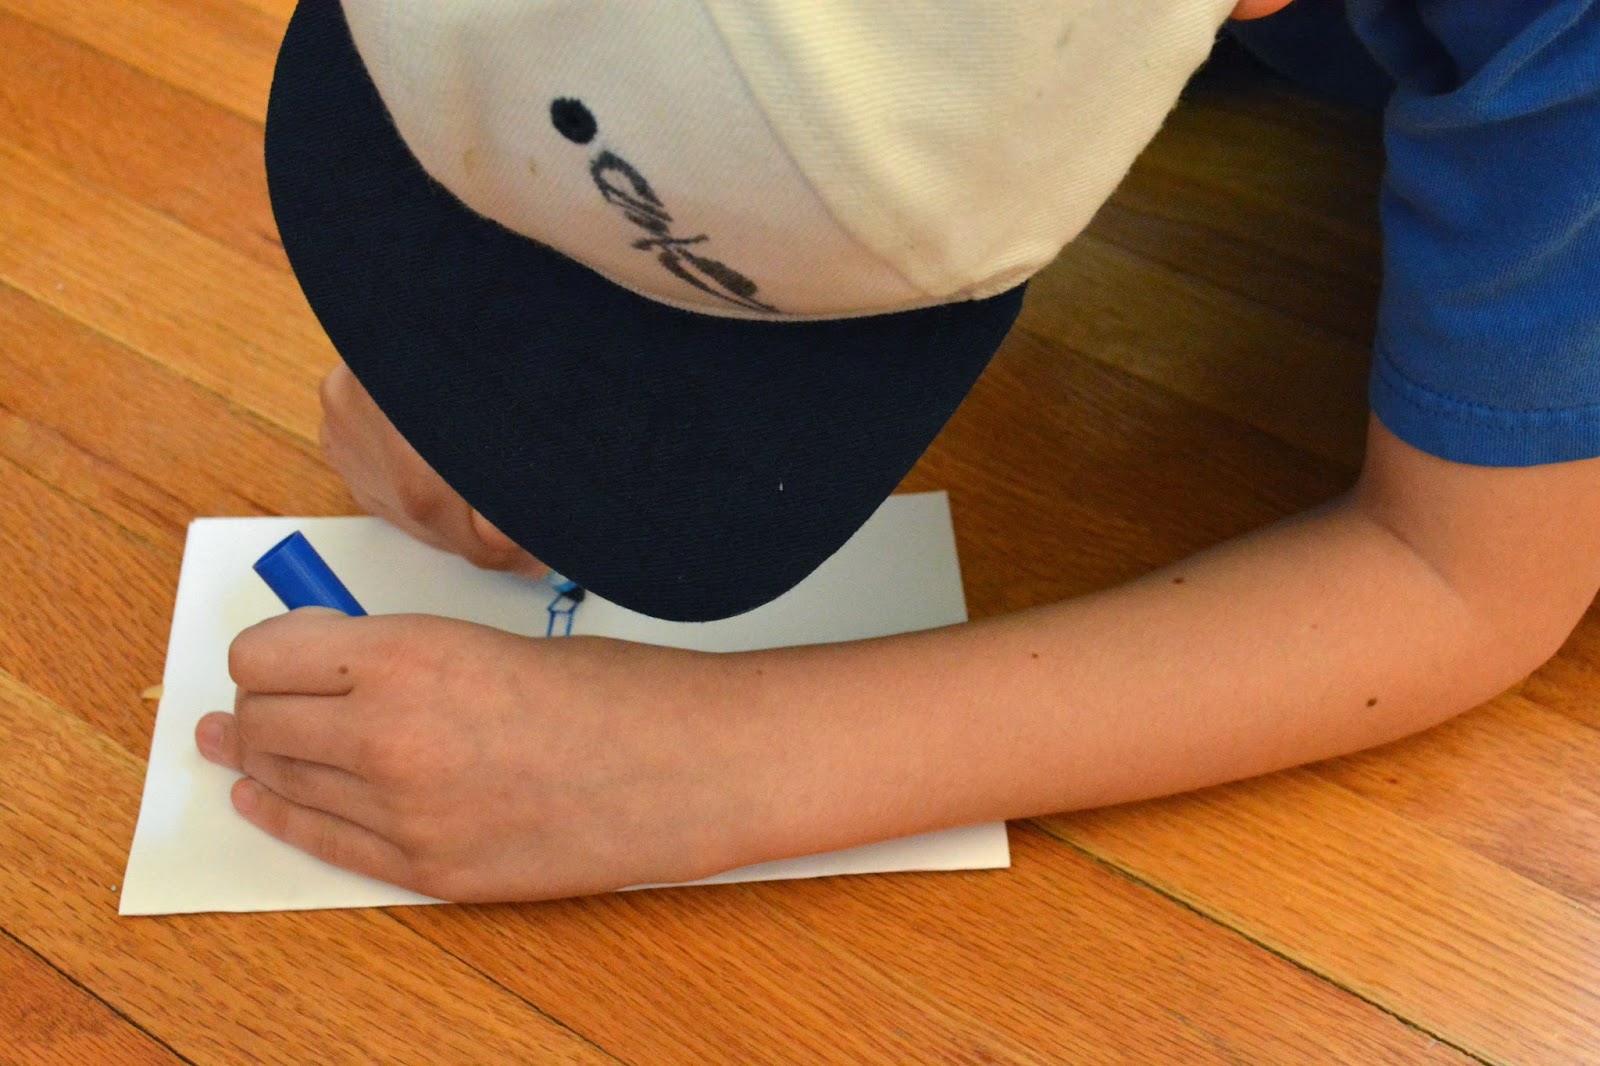
To Begin I had the kids each write a little note from the heart.


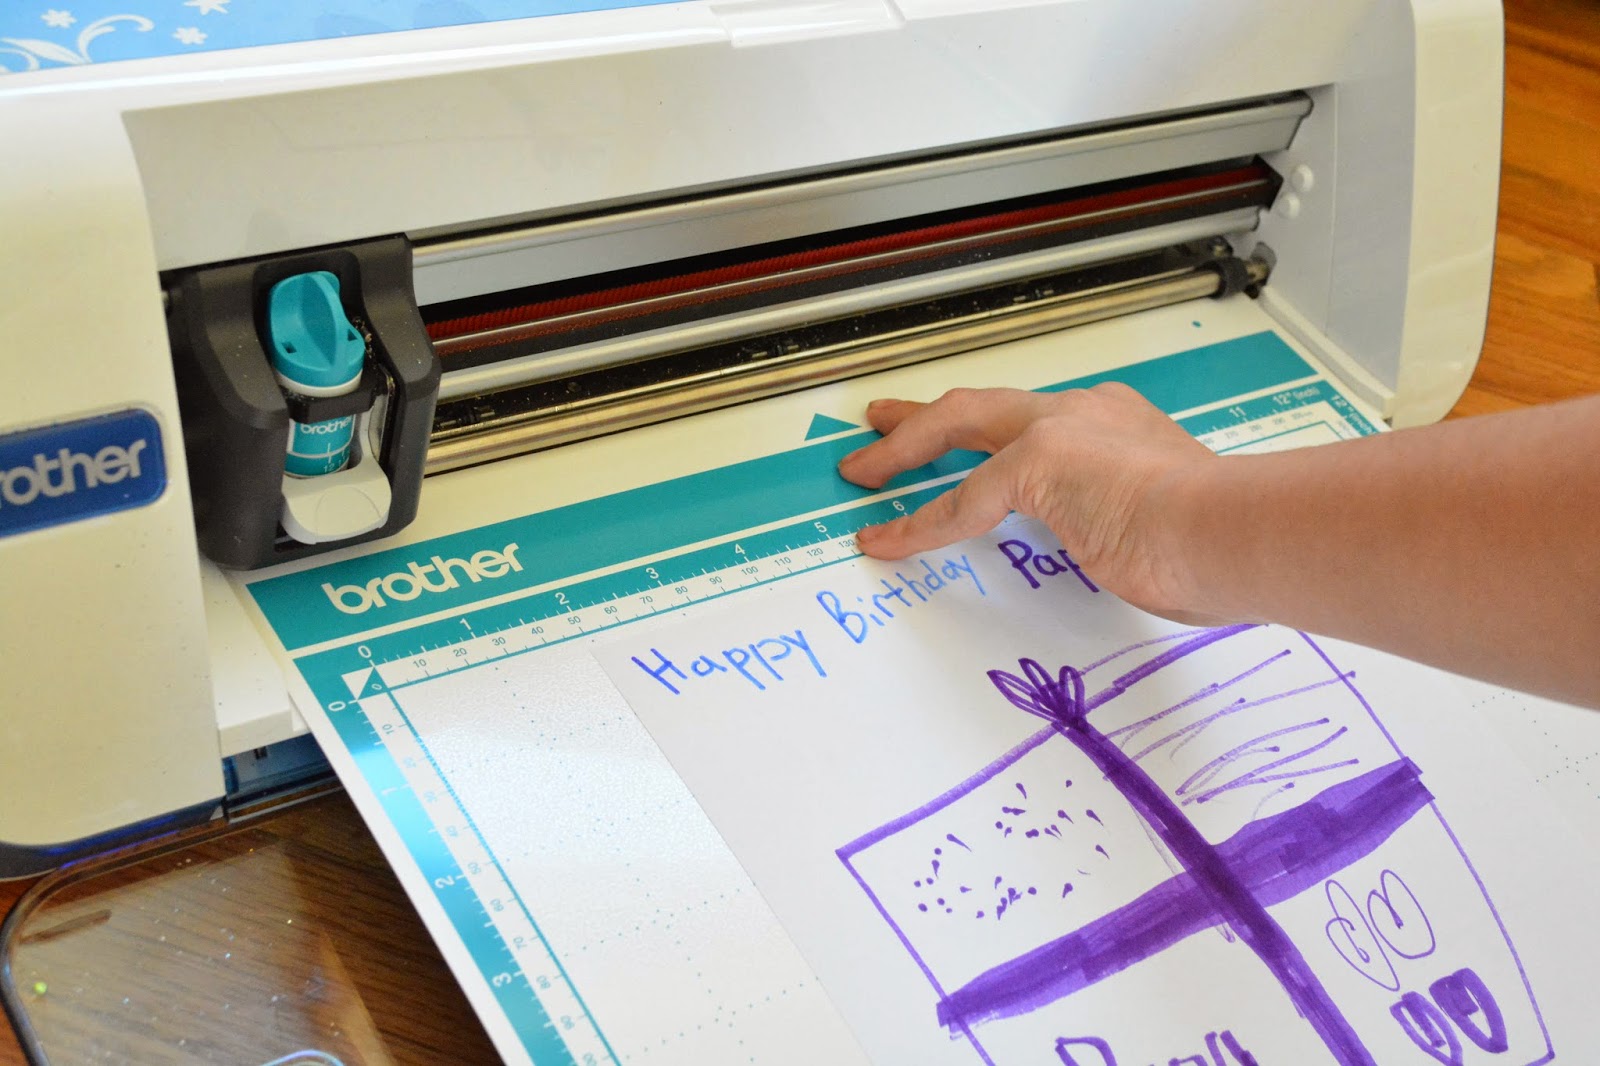
Next, they loaded their messages onto the low tack mat and into the machine.

 Hit Scan.
 Scan to USB.
 And Start.

 And that's it...


ScanNCut saved the images as JPG's to my USB. I then used the computer to crop them down and sent them to my friend at my father in laws office to print and leave on his desk through out the day...


The kids and their creations :)


 And of course this lead to a mini photo shoot.... Here you will see the kids posing "normal"

 And here, well posing like models...

 And here... like gorillas...
 And here... like our daughter is their boss...


It only took a few minutes to create this fun birthday wish. I love having these moments with the kids and pray that it stays with their hearts as their grow up and have their own families.

Of course.. we can't have a birthday post without wishing a BIG HICKS BIRTHDAY to the big guy himself...

Happy Birthday Jay! Thank you for being an amazing father and grandfather to our family... You are a wonderful example to us all. We are so very blessed and fortunate to have you in our lives. We love you and hope that you have a wonderful day!

So although we are far away, I am grateful for technology, our fun little family and sneaky friends who are always up for the challenge to help (Thanks Lisa!).

I hope this inspires you to give a little shout out to your loved ones today, and maybe use ScanNCut too!

~Liz ♥


Wednesday, March 5, 2014

ScanNCut GIVEAWAY!

As many of you may know, I have been working with Brother International on the launch of their new innovative electronic cutting machine, ScanNCut. It has been a year (YAY!) that I have been working as a contract consultant with Brother on the launch of this product and I can not express just what a wonderful experience it has been to be able to travel, teach and share this wonderful machine and all that I have learned of it through this last year. Although I am a paid consultant, my opinions of this machine and Brother are my own, I am not compensated for my opinion or public stance.


ScanNCut has been such a success in the arts and crafts industry (and well, every other creative industry for that matter!). It's capability to take a hand drawn image, scan it in and create it into a cut file with in seconds has please so many users and even some of my crafty friends.

Through this year I have been able to work with some of my dear friends as well make new friends on this project. I have had tons of emails from the crafting community on how ScanNCut works, and sometimes even people asking me if there will ever be a giveaway :)

Well I am happy to announce that Brother has just announced that they will be sponsoring a National Craft Month GIVEAWAY of some ScanNCut machines. I have only seen a very few amounts of these machines be offered as a giveaway, so it is not everyday that one of these machines come up for grabs. Let alone 10!

I would love for you to win! Please take a moment to check out the giveaway and if you have time and would like to, enter. I am really hope that one of my friends wins this machine so I will be doing all I can to get the word out to those I know. If you would like to share this, you are more than welcome to.

CLICK HERE TO ENTER THE SCANNCUT GIVEAWAY FROM BROTHER INTERNATIONAL

https://www.facebook.com/BrotherCrafter?v=app_554639551318388

If you would like a chance to win not just one, but one of 10 that are being given away, ENTER. Even if you are an industry professional, or not as crafty as you would like to be... ENTER. This machine works for so many different types of creative outlets you will be surprised just how many ideas will begin to swirl around in your head.

If you would like to know more about ScanNCut's capabilities, check out Brother's You Tube Channel.


The Youtube Channel has a TON of videos that will give you a good idea of what ScanNCut can do. And if you have any questions, you can just ask here and I would be happy to help you.

So if ScanNCut has been on your radar or wish list, now is your chance to enter for a chance to WIN. Sending the best wishes to all of you that enter!

~Liz ♥

Monday, December 30, 2013

The Wishing tree...

With the new year rounding the corner, I thought it might be fun to take a tutorial that I did for Brother International and give it a different twist. I created a glittering Christmas tree for the holidays using a beautiful assortment of glittered cardstocks and my ScanNCut. I created this tree with my family and used a few other sizes and let the kids make their own trees for the holidays.

With what has been happening in our lives lately, I thought it might be nice to allow this tree to act as a yearly reminder to our family of where our hearts are at the end of each year. So instead of this being the Glittering Christmas Tree that I thought I would share on my blog... this is going to serve as our families Wishing Tree.

We spent the holidays with our family in California this year. Due to my Grandmothers diagnosis we planned a quick impromptu trip to visit our families and see her one last time. It was hard. Hard on all of us as we knew that as we said good bye, this was most likely the last time that we get to see her. As hard as it was, there still was some peace in our family that she would not be in pain for much longer.

After returning home, I got to thinking of our kids and how hard this must be on them seeing not only their great grandmother ill, but also seeing their grandmother and mother saddened. I didn't want this to haunt their holiday so I got the idea to take this Christmas tree and give it a new purpose.

The Wishing Tree


 This tree is decorated with thumb tacks that have designs glued to them. These tacks press nicely into the tree form and allow you to post pictures and cards to your tree.


I thought it would be nice to have the kids take some time and write down wishes and add them to the tree. We can store the tree through the year and when we bring it out the next holiday season, the wishes will be there as a reminder of where their hearts were the year previously. This is a wonderful way for children to see themselves grow and for parents to see growth in character through the years. Have your children date their wishes and you can keep adding to your tree each year.


For full directions of this project click here.


I hope this gives you an idea of a fun family craft that can be created easily during the holiday break and perhaps start a new family tradition in your household. It is never to late or to bleak to share hope with your children, I am excited for my kids to open up their wishes next year and see how much they have grown.

Thanks for the great year, wishing you and your family the best this New Year!


~Liz Hicks and Family ♥

Thursday, November 7, 2013

ScanNCut Canvas now LIVE!

*Although I am a paid consultant for Brother International, my opinions are my own and are expressed here as follows.

Just a quick announcement to for those friends who own a ScanNCut. ScanNCut Canvas is now LIVE and available for you to create a free log in.

Simply click on the link here to sign up.


What is ScanNCut Canvas?

It is a free cloud based web tool that will allow you to expand the use of your ScanNCut machine.
Do you love using SVG files for your cutting? Now you can convert your SVG's to ScanNCut files in seconds with the use of Canvas.

Brother has created this cloud based web tool to enhance the ease of use of ScanNCut. Although ScanNCut does not require software or a computer, artists of all types will enjoy the editing capabilities of Canvas as well as the additional features that are now available on Canvas. Create an offset margin or draw your own designs with the paths and free hand paths tools. In addition the shapes that are included in the machine are available for use too! Weld, unify, subtract your shapes into creations of your own. Or if you have designs that you love that are in different formats, try image tracing them into a ScanNCut file.

What I love about Canvas is the easy to use interfacing as well the ability to use it where ever I go. I can hop onto my friends computer log in and access my recently edited files. It makes traveling with my ScanNCut machine a whole lot easier not having to take a computer with me everytime. All I need is a USB to save my files to and bring them onto my machine.

So if you have a machine and are interested in Canvas, take a look around and have some fun... I would love to see what you create with this program.

~Liz ♥

Tuesday, November 5, 2013

Win your very own ScanNCut!

I have been sharing quite a bit about the new ScanNCut home and hobby electronic cutting machine from Brother International (TM). Needless to say I love it and I hope that you have enjoyed the projects that I have shared so far that have been created with this amazing new cutting machine.


From fabric, paper, leather, denim, wood veneer paper, balsa wood to tissue paper, vinyl and even chipboard... This machine never ceases to amaze me. Although the machine was created to cut fabric... it is impressive just how much more it can do.

I found this link from Daily Lounge that shares their giveaway of the CM100DM model of ScanNCut (red) and thought I would share it with my friends here. There are not very many ScanNCut giveaways so if there is ever a chance... I will try and post it here so that all of you have a chance to win ♥

So if you are interested... take a minute and check out this giveaway. Hoping and praying that one of our friends here wins!

Best of luck!

♥ Liz

Sunday, November 3, 2013

Handmade Holidays hoppin' GIVEAWAY

With Halloween done, I am excited to get into the holiday season. When I was younger, Thanksgiving was always a time that my family would drive into Los Angeles to see my grandparents. MY mother's family would all gather together, and I would have a chance to see them all and catch up with my cousins. I have fond memories of spending Thanksgiving night with my grandfather passing out our leftovers families less fortunate than ours and that maybe didn't have a whole lot of family in the area to celebrate with. I can still remember the grateful happy faces each year as we brought our meager offerings that meant so much to these families.

What I love about Thanksgiving is the beautiful memories that I have of my family spending time together. It fills my heart each year. This year we will not be able to go home for the holidays so we will be on our own for Thanksgiving in Colorado. Although it does make me a bit sad, my hope is that I can help to create new memories for our family and make the best of it. Nothing beats family, but even just a little family of five getting together is enough to be thankful for.

This year I am making custom name tags for the five of us. It isn't much but it will help to give our kids a little something personal to have on their seat when we sit down for dinner.

 Leather and Wood ScanNCut holiday Place cards
supplies: ScanNCut electronic cutting machine by Brother International (TM) , Wood veneer paper by Splash of Color, Cardstock by Die Cuts with a View, Leather (found at local craft store) button from Little Yellow Bicycle, Ink from Clearsnap ink and stamps are Liz Hicks artisan designs for Unity Stamp Co.


For this project I started off with a few simple items. I had a left over leather flower that I had cut out with my ScanNCut by Brother International (TM) so I knew I wanted to add it in some how.

I picked colors of cardstock and a wood veneer paper to create a warm color concept with some text.


 First start by cutting 5x5 squares out of your base cardstock. For your next piece (the wood veneer paper) cut it 1/2 inch smaller than half of your card (so when the card is folded, cut your second piece a 1/2 inch small then the front of your folded card)
Proceed to adhere your wood veneer paper to our card.


Next, take your off white paper and cut it 1/2 in smaller than your wood veneer paper. Use your favorite stamp to add accents to your white on the right side. For this project I used my licensed  stamps set from Unity Stamp Co.


Next take some foam squares and crafty power tape and put your name card together.

 Here is the card blank, You can add names and stitching if you'd like to make it more decorative.


I have added my name to this one... I think I will make a different one for each of us based on what we all like, or it might even be fun to have a member of the family decorate each others...  overall the basis of the name cards is to have something special at your dinner and to provide some family fun time.


Here is a bit of detail of the leather I cut in my ScanNCut. I used my deep blade at a 12 setting and cut it twice to make sure it cut all the way through. Now this may be to deep for your settings, so always make sure that you start low and and work your way up.


So here is a list of the other blogs that are participating in today's hop but I want to make sure that you head on over to Denise Hahn's blog as she is next on the list from here... Check out her AMAZING work here: Denise Hahn- http://inmyblueroom.blogspot.com/

And if you want to pop around to the other participants here you go!

November 3:
Sizzix – Eileen Hull Designs http://eileenhull.blogspot.com/
Nathalie Kalbach www.nathaliesstudio.com
Tanner Bell   http://www.craftteen.com
Jennifer Priest http://hydrangeahippo.com
Vicki O'Dell http://vickiodell.com/
Liz Hicks http://blogerisms.blogspot.com/   (YOU ARE HERE, Yay!)
Norma Rapko http://normarapko.blogspot.com/

I love this time of year and that I get to work with some amazing designers... It really starts to feel like the holidays when you can get together with friends and feel festive in a fun and crafty way. It is a warm welcome to some family time and I love it so much ♥

I hope this project encourages you to take even just a quick minute to create a custom and personal feel to your holiday... there are so many ways to do this, I would love to hear what you are planning.


Thanks for stopping my today!

xoxo,

Liz Hicks


Monday, October 21, 2013

Southwest Chic with ScanNCut


Supplies: Cream printed cotton fabric, bright pink, yellow and turquoise designed fabric, pillow fluff and white thread. ScanNCut cutting machine, Innov-is 950D sewing/embroidery machine by Brother International Corporation (tm).

South west décor is making its way back with a twist. I see so much fun colors with southwest this time around. I decided to use this inspiration to use the built in features of Scan N Cut to create my own custom southwest designs. I am new to appliqué designs, but decided to give it a try… I am happy I did!

I started by taking my white fabric and cutting it into two 10 ½ X 10 ½ squares. From here I found scrap fabrics that coordinated the largest being 9 inches long and the others a little smaller than that.


To build my designs I used the built in design shapes in Scan N Cut. You can combine shapes to create your own custom designs. Using rectangles, squares and triangles are the perfect match to create this southwest décor. When you combine shapes to create the larger design, make sure that your shapes overlap so that you can weld them together. I recommend starting with your largest shape first, arrange the shapes to create it and then weld it together. From here, multiple the shape times two and take one and minimize the size to fit inside the larger one.


Now that your designs are created they are ready to be cut! Take your fabric scraps for your design and iron on your appliqué sheet to the wrong side of your fabric. Make sure that your fabric is larger than your appliqué sheet as well that your iron is set to the right setting. You can use a cloth to protect your iron if you’d like.

Next take each color and cut one shape from each of the colors. Use the standard mat with the purple blade at a 7 setting (this is just a recommendation, make sure to test your cut first).

Once you have your shapes cut out, take the largest and iron it onto the right side of your white fabric, centering it to your liking. Once ironed on, continue to iron on each different shape to create your design.


For an added touch, I added a plain stitch to the inner area of each of the designs, this will allow the fabric to fray a bit giving it a nice texture. 

Once your designs are sewn on, take your designed part of your pillow and lay it right side with the other side of your pillow.
Pin the sides and continue to sew with a ¼ inch seam. Leave the end open to pull right side out and stuff.


Once your pillow is stuffed, take your machine and sew a thin seam around the entire pillow to finish it off. This will give your pillow a nice finished look without the fuss of hand stitching.


And to help share a little insight on welding with ScanNCut, here is a quick video I created showing you how to create this southwest motif.


Also, make sure to check out our this awesome giveaway that we are doing here on the blog. Click here on Creative DIY- Fall edition for more details.

Thanks for checking this out today! If you have any questions feel free to ask, Welding with ScanNCut is a lot of fun,  I would love to help if you need anything.

Thanks for stopping by!

~Liz Hicks