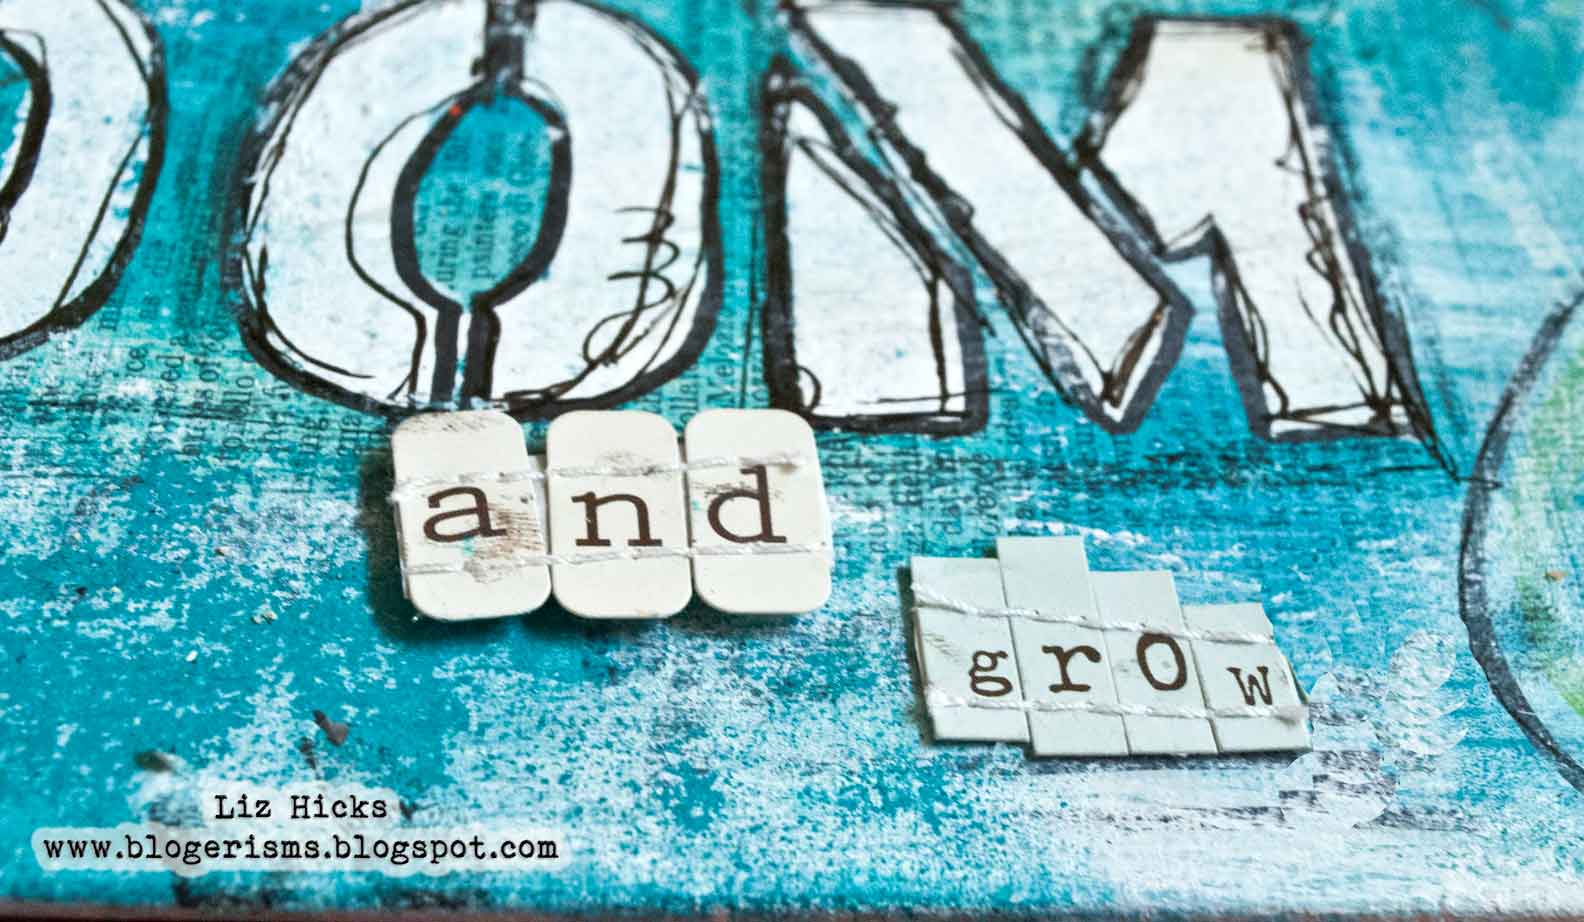
Showing posts with label Creative Imaginations. Show all posts

Monday, October 1, 2012

Virtual Gallery Walk- PAJWLH

So today is the first day of our Virtual Gallery Walk! If you are not up to speed about what this concept is... check out my article from last weeks post here about the Virtual Gallery Walk. The name of this exhibit is Artistic Inspiration: Then and Now.


For this exhibit of our Virtual Gallery Walk, we decided to use various forms of inspiration to draw from. My initial thought was to draw inspiration from classic artists, but with this group of artists... the sky became the limit. Our talks went from story books, to music and well... it just expanded. So the focus for this exhibit will be Artistic Inspiration: Then and Now...

Here is what I came up with :)


My initial inspiration was an artist that I was introduced to during my drawing class. I loved my drawing class because our teacher had a really unique approach to teaching us the basics of drawing through varying mediums and artists. One of the artists that I was drawn to was Sigmar Polke.

Here are a few samples of his work, and for more samples click here to view google images.


Upgrade (Lens Painting) (2007)
mixed media on fabric
31 1/2 x 39 1/4 inches
source:oneartworld.com
 
       source: escapeintolife.com

What I enjoyed about his art was of course his mixed media approach to some of his pieces, but also the use of layers through varying effects such as screen print or image transfers and stencils.

Another inspiration of mine is street art... I have become enamored with the use of stencils in street art and the juxtaposition of some of the placement  of art and content. Banksy and Shepard Fairey are the two that come to mind when I think of influential street artists. With street art you are faced with a canvas that is opportune and available. I love that some of the work that street artists create often cover advertisements, or flyers that are stuck to the wall. Mostly just in the way  that it creates texture... not so much in the illegal way it costs communities to restore.

So with this in mind, I set out to create a piece that offered techniques such as stenciling, screen printing and image transfers but that offered the texture of a random surface. I love the look of stenciled street art that has been created over walls that previously held papers, posters and such... the textures are amazing! That was one of the attributes I knew I needed with this pieces. I had planned on screen printing a bit on this, but after I looked at the last layer I laid... I didn't think it was necessary. So this is it :)


Take Hold of your Dreams

Mixed Media 8x10 Canvas Board
Acrylics, Inks and Resin
Supplies: Acrylic Pigments (Plaid enterprises), Epoxy Resin (Ice Resin), texture stamp (Unity Stamp Co.), spray Inks (Clearsnap and Creative Imaginations), Stencil (Creative Imaginations),  Thread (Gutterman) letter stamps sequin and vintage paper (unknown)


Here is a view of the Resin I applied on the piece. I wanted to add lacquered sort of layer, that was sporadic and not completely covering. I considered using a gel or glaze medium, but I really wanted a TRUE lacquered feel that was completely transparent. I chose to use Ice Resin for this result. PLUS the depth that it offers the piece too :)


 This is a downward view of the right side of the piece. I have a cascade of sequin, thread, glitter, inks and paints creating layers and depth across this piece.


 Now if we are friends on Facebook... you might have heard about my "staples" incident... well these are the staples that were stapled to my hard wood floors... thank God they came up :)


 Here is a bit more of the texture, showing the basket weaving that is in the middle section of this piece. 


The idea for this gallery walk is to remind us all that our reason for creating, though it is our own... is the same as those who we follow... Even the greats had our drive, our passion... we are artists... just as they are. Notoriety has nothing to do with it. We create because it is who we are, not because it is who we want people to see us as... It is a part of who we are.

Today for the gallery walk, we also have the wonderful Jen Cushman sharing. Make sure to check out Jen her on her blog. Jen is part of the magic behind Ice Resin, which I am pretty sure that most of you have fallen in love with! You will definitely want to check out what she created :)


PAJWLH

 I am trying to catch up on some prompts since I have been ill the past few weeks. This blog post seemed perfect to add a prompt to. If you are not familiar with PAJWLH... check it out here. This is a free art journal workshop that I offer on line this year.

Prompt: Why do you create? for your family? For yourself? for healing? For work? look into the root of why it is you create. Is this the reason you started to create in the first place? Does it make you happy? Why?

Creative Prompt: Use a stencil, image transfer or silk screened image.

I am pretty excited that this is the start of this fun artsy adventure... I have chosen some good girls that are amazingly talented... I am so glad they said yes and that you get to be a part of this with us.

So enjoy this gallery walk... I will be your tour guide if you get lost, just hop back over here... am I will guide you to the right part of the exhibit for the day. We will be doing this from October 1st through the 5th... I am sure you will have a blast, pick up a few artistic inspirations that will get your creative juices flowing!

See you tomorrow :)

~Liz Hicks

Tuesday, September 11, 2012

Faux Copper embossed album- (Giveaway)

I can't believe that we are already on week 5 of Everyday Creative on My Craft Channel. These segments have been so much fun to share with you all. I am so grateful to be able to share some of my crafty ideas.

This week I am sharing an inexpensive way to create a beautiful mini album. This technique can be used in a variety of crafting from altered decor to scrapbooking... the choice is yours!

Make sure to watch the video to see how I took a dollar store item and made this fun mini album... YES I said dollar store crafting (made chic!). The base of this album only cost me 50 cents since this came in a set of two for one dollar! :)


Watch the video HERE. (Thanks for letting me know Mary and Lynn!)

Faux Copper Embossed Mini Album


Once again we are having a giveaway for this week using companies that were seen in this weeks video. This week we have some great prizes from Spellbinders Paper Arts, Clearsnap and Creative Imaginations.

Here is what this weeks prize package will consist of:


(5) Spellbinders™ M-Bossabilities™  Folders plus one raspberry spacer plate

(2) 6x6 paper pads from Creative Imaginations


And a selection of Clearsnap goodies
(not pictured)

Here is our winner from last week, Congrats Lisa F.!

a Rafflecopter giveaway

And for this weeks giveaway here are your options to enter :)

Make sure to use the Rafflecopter Widget below to enter. If it doesn't show up.... refresh the page and it will be there.

  a Rafflecopter giveaway

Thanks again for your support, I hope this weeks video sparks your creativity to take a stroll down to the dollar store.

~Liz Hicks
Tuesday, August 28, 2012

Everyday Creative- Creative uses for Glass Bead Medium (GIVEAWAY)

So it is that time of the week again! A time to share this weeks episode for Everyday Creative with Liz Hicks over on My Craft Channel! Today's show is one of my favorites. For this show I am sharing some creative uses for Glass Bead Medium. What is Glass Bead Medium, you ask?  Well it is an gel based medium that has clear micro beads suspended in it. I haven't actually checked to see if the beads are glass, they seem to me to be more of a synthetic of some sort (depending on the brand), but either way it is gorgeous and sparkles beautifully. Your result is a beautiful clear gloss with a bumpy organic texture, pure and clear and absolutely beautiful... that is until you get creative with it and make it GORGEOUS!

Here are a few of the samples I used for this segment of Everyday Creative with Liz Hicks over on My Craft Channel.

Hope is the parent of Faith (Mixed Media Canvas Board)


Here is a close up of technique one I share on the video... For this technique I am using Creative Imaginations products with Glass Bead Medium


Bloom and Grow (Mixed Media canvas Board)


Close up of technique two I share using Clearsnap Inc products! 


And our WINNER for last weeks giveaway of Ice Resin and Clearsnap Products IS.....


a Rafflecopter giveaway

And for this weeks giveaway... we have a wonderful giveaway of prizes from BOTH Clearsnap AND Creative Imaginations! Make sure to use this widget below in order to enter into the giveaway (If it doesn't appear, hit refresh) ... There are some fun ways to enter that hook you up with these great companies!

 a Rafflecopter giveaway

Thanks again for your support and for viewing the videos that I created for My Craft Channel. I hope you have enjoyed them, and feel free to let me know what you would like to see more of.


 ~Liz Hicks ♥

Wednesday, April 4, 2012

A few videos of inspiration... PAJWLH

I have been sick for what seems like FOREVER... so I am trying to catch up on a few prompts. Here are a few fun videos that I hope will inspire you as well as share some of the fun new products that came out at CHA Winter 2012. During CHA I took a lot of fun videos featuring some of my favorite booths and people. Here are a few to share with you all.


Here is a fun video with Marah and Creative Imaginations. They had some fun new paints, elements to create your own paints as well as some fun new products for mixed media and art journaling.


And one of my favorite glittery chicas- Kathy Cano-Murillo, AKA Crafty Chica. She shares her fun product line from I LOVE TO CREATE, there is even a journal in a box. All of her products are so fun, colorful and definitely share a fun cultural flare.


Both videos I am sure that you will love, so be sure to check them out and leave the girls some love. They were troopers to spend some time with me. Through these two videos I hope that you can gain some insight into what fun products came out during CHA. One of my favorites was the fun new products from Creative Imaginations. Be sure to check out the sites at the end of the videos to link up to those on the videos.

I will have another prompt for this week on Friday with either some more videos from CHA or a technique video... let me know which you would like :)

~Liz

Friday, January 27, 2012

PAJWLH- Getting Started...

So this is our first post for our Progressive Art Journal Workshop! WOO HOO! I am so excited to get started :)

Right now I am sitting in a hotel room prepping for CHA (Craft and Hobby Association trade show) yet all I can think about is this fun amazing adventure we are all about to start! For our first post I thought I would keep it easy and share a simple prompt and supply list.

I have had a couple of you email or message me in regards to supplies for this art journaling workshop. Well this is a bit tough to write down in a list form as this is not exactly like a regular class that you would take.  The only items you will definitely need will be a surface (journal or pages) and a pen. I encourage you all to use what you have. There really is no reason for you to buy anything unless you see a pressing need for it. I will share with you products that I use and that I love and may even show you some fun techniques with these products but to purchase them is your choice, they are not mandatory for this course. Because we all have different tastes and aesthetics I would hate to see any of you spend your hard earned money on supplies that you might not even favor. So this list that I am providing is not a necessity list, mainly just some products that I really enjoy using. I will be adding supplies to this blog post as we progress through this year, especially if we find some products that are fun to share. This list should act merely as a list of suggestive items that I enjoy.  

Surfaces 

Depending on your work surface preference, you can work on pretty much any porous surface that you enjoy. Here are a few ideas to get started.
  • sketch book
  • drawing paper
  • canvas sheets
  • stretched canvas (If you choose to display your work)
  • journal
  • 80 lb (or heavier) cardstock
Pens and Pencils
  • Micron Pen (20 and 05) These both are great for writing in your journals
  • watercolor pencils
  • oil pastels
  • chalks (I use these very rarely, but they are cheap and come in handy)
  • grease pen (China marker) This is something I use to outline a lot. Works great on most surfaces
  • carbon pencil- basically this is a charcoal pencil without the organic iniquities. this is great for creating shadows and blends nicely with collage mediums. Here is a great guide to pencils if you are wondering the difference between the many types that are out there.
Paints/mediums
  • acrylic paint, if you are just working in a personal journal craft paint (usually about .69-99 a bottle) should work just fine. If your art work is for display or gift try and use student or artist grade as the quality and pigment value will be higher and more durable.
  • gesso- this might be another thing that you might use ofter. For one of the workshops we will work on starting over or prepping a page. Gesso works great for this, or even a few coats of white paint, but we will get into that a little later.
  • watercolors- there are so many out there right now, especially in the scrapbook market. I use Clearsnap and Creative Imagination products and have found that they would wonderful, but again use what you have :)
  • dyes- stamp pad re-inkers have become my go to for dying. I use Clearsnap for this as I have them on hand and have found that their concentration is strong. This just helps with having more flexibility if you use it as an additive to anything.
  • modeling paste- This is just a fun product to play with and add depth to any project. This first project below I used a lot if modeling paste.
  • gel medium/collage paste- basically something to stick stuff down with. You can use glue or modge podge for personal journals, if you are displaying your work I recommend gel medium as it is made for being displayed for long periods of time and I believe it has a UV protector in it.
Misc.
  • Glitter- hardly ever do I create something without glitter. Glitter paint, glitter pens, dry glitter... the more sparkle the better in my book :) Glitter equals Happiness. Period.
  • Patterned Papers- I have a basket that I throw my scraps into. This makes for quick and easy access for tidbits that I can grab as needed. I like to keep a variety of colors of patterned papers around. Helps to add visual depth yet still gives a fun pattern or hue.
  • Handmade papers- These are sometimes pricey so I mostly use scraps from projects in my art journal. These papers are usually made of mulberry which has a beautiful organic texture to it. Now there are tons of additives that are thrown into the papers... they just keep getting better and better.
  • odds and ends- any sort of ephemera that catches your fancy.
Places to find tools for this class:

First check your crafting closet. This is a great time for you to get resourceful with what you have. Don't have paint... use patterned paper and create a mosaic from your scraps. Can't find your scissors... just rip it. Another great place is your kids school supplies. I constantly use my kids art supplies, water colors, pastels, markers crayons. If you need color you can easily find it in your house in some way or another :) Anything else that I use I will recommend some places to purchase the product if you choose. Feel free to comment in any thread if you see a deal or bargain on art supplies, just please do not advertise for a company or store you work for. This is a safe place to create, we are here to support and help each other, not pressure anyone or load info that is not relevant.  

Prompt One:

Ok, so I am going to keep this one simple. This is a project that I created for the Charity Wings auction for this CHA. It is being auctioned off for the charities that they are promoting. With this project I started with no idea what I was doing... I simply sat down with some fun new products that I wanted to experiment with and had fun.

supplies used: 14x14 canvas, Paint (Plaid Industries) Grease Pen (Sharpie) Mask and Watercolors (Creative Imaginations), letter stickers Prima Marketing Inc. Inks, (Clearsnap, Smooch accent) Tsukineko (Staz-On Black), Vintage paper, Decoupage medium (Beacon, Fast Finish Decoupage), sequin, gems.

Side profile view showing flowers created with modeling paste and a Creative Imaginations mask. Canvas inked to show depth and add faux age/wear.

Close up of the verbaige... my son came up with this one ♥
 So for this part of the workshop let's start by creating a free form (meaning no specific guidelines) page to get the creative juices flowing. The title of this piece above was told to me by my 10 year old son. I love that even though he is young, he inspires me so. For the title of your page, use words of encouragement that you might give to someone. This is going to be a page that we will use in the future and revisit but for now, this will give us a good start at getting into the swing of creativity. Make sure that the back of your page is blank we will be doing something with that later. Also, if you have a blank cover to your project, keep it blank for now. When I return from CHA I am going to film a video of a cover idea you can use if you'd like. Feel free to post links to your page here. Seeing everyone's pages will be inspiring for all of us.

I hope this helps get things rolling for you. If you have any questions, please feel free to email me. I will try and get back to you while I am at CHA... but being that it is a little crazy right now please give me grace. I will try and respond to you quickly :)

Since I will be here at the show PLEASE let me know what it is that you would like to see. I am walking the floor (the first time, I am not in a booth... woo hoo!) so I can get up close and personal with products you might want to know about. Please let me know. Just comment here what you want to see and I will take pics, ask questions and video if I can.

Thanks for taking this first step with me on our creative journey. We are going to have fun this year!!!

~Liz ♥

Pin It

Thursday, January 12, 2012

Art Journal and Tablet Keeper projects

So today is my day to share my projects for the Nancy Zieman's Tablet Keeper Blog Tour! I ended up with two projects to share... not necessarily on purpose, lol.

I started out with (good) intentions to create a tablet keeper for my new E-Reader. I decided to use muslin  as my base for my project as I love how easy it is to paint. What I SHOULD have done was paint first, cut second.... But I went against my better judgement and painted my cut fabric. I should know better, but was so excited to get started and paint, lol. Anyways, to make a long story short... my initial fabric that I painted had shrank about 1/4 inch So, this lead me to creating a fun art journal out of this.

As I mentioned in my previous post, I wanted to marry different crafts into my project.


 I added hand drawn flowers to the cover and painted the cover with acrylic paint, water colors and a carbon pencil. The title was created with the stamp set I designed for Unity Stamp Company.

Here is a close up of the cover. In order to create a weather proof seal on my cover, I used a jewelers grade epoxy resin, Ice Resin to seal it. It gives my cover a beautiful slick effect that can easily be wiped off ( a must have with kids!).


 Here are some of the fun inside pages I created out of paper, muslin and stabilizer.


This page I created by using a firm stabilizer covered in muslin. This is wonderful for mixed media art journaling as it creates a firm, mostly water resistant barrier in between your pages.

For my Tablet Keeper, I actually started a new project from scratch (measuring twice, cutting once!). I first assembled my project and then painted to prevent any shrinkage :)

Supplies used: Nancy Zieman Tablet Keeper template, Tablet Keeper stabilizer, Create a Strap. Acrylic Paint, Water Color paint and Twinkling H2O's, Unknown items- Thread and Muslin.

 I am very happy with the way it came out. It is very organic looking which I love. I love that it has an irregular look to it, makes it totally hand made and ME!


 Here is an up close picture of the flowers. The detail and shading was created with acrylic paint, water colors and twinkling H2O's by Creative Imaginations.


Here is the inside of the cover. I painted sporadically with cream paint and  hand journaled a nice reminder for myself. From here, I covered the page with Ice Resin to create a transparent look to the page. I did all of this before I sewed the page down.


For an added little detail, I added a piece of vintage paper to the tablet insert so that the print could vaguely be seen through the resin muslin that I journaled on. I like how it adds a little depth to the project, makes you have to pay attention to the little details.


I am so happy to have been a part of this blog hop. It made me bring out some of my trusty craft supplies and explore different areas than I normally would. 

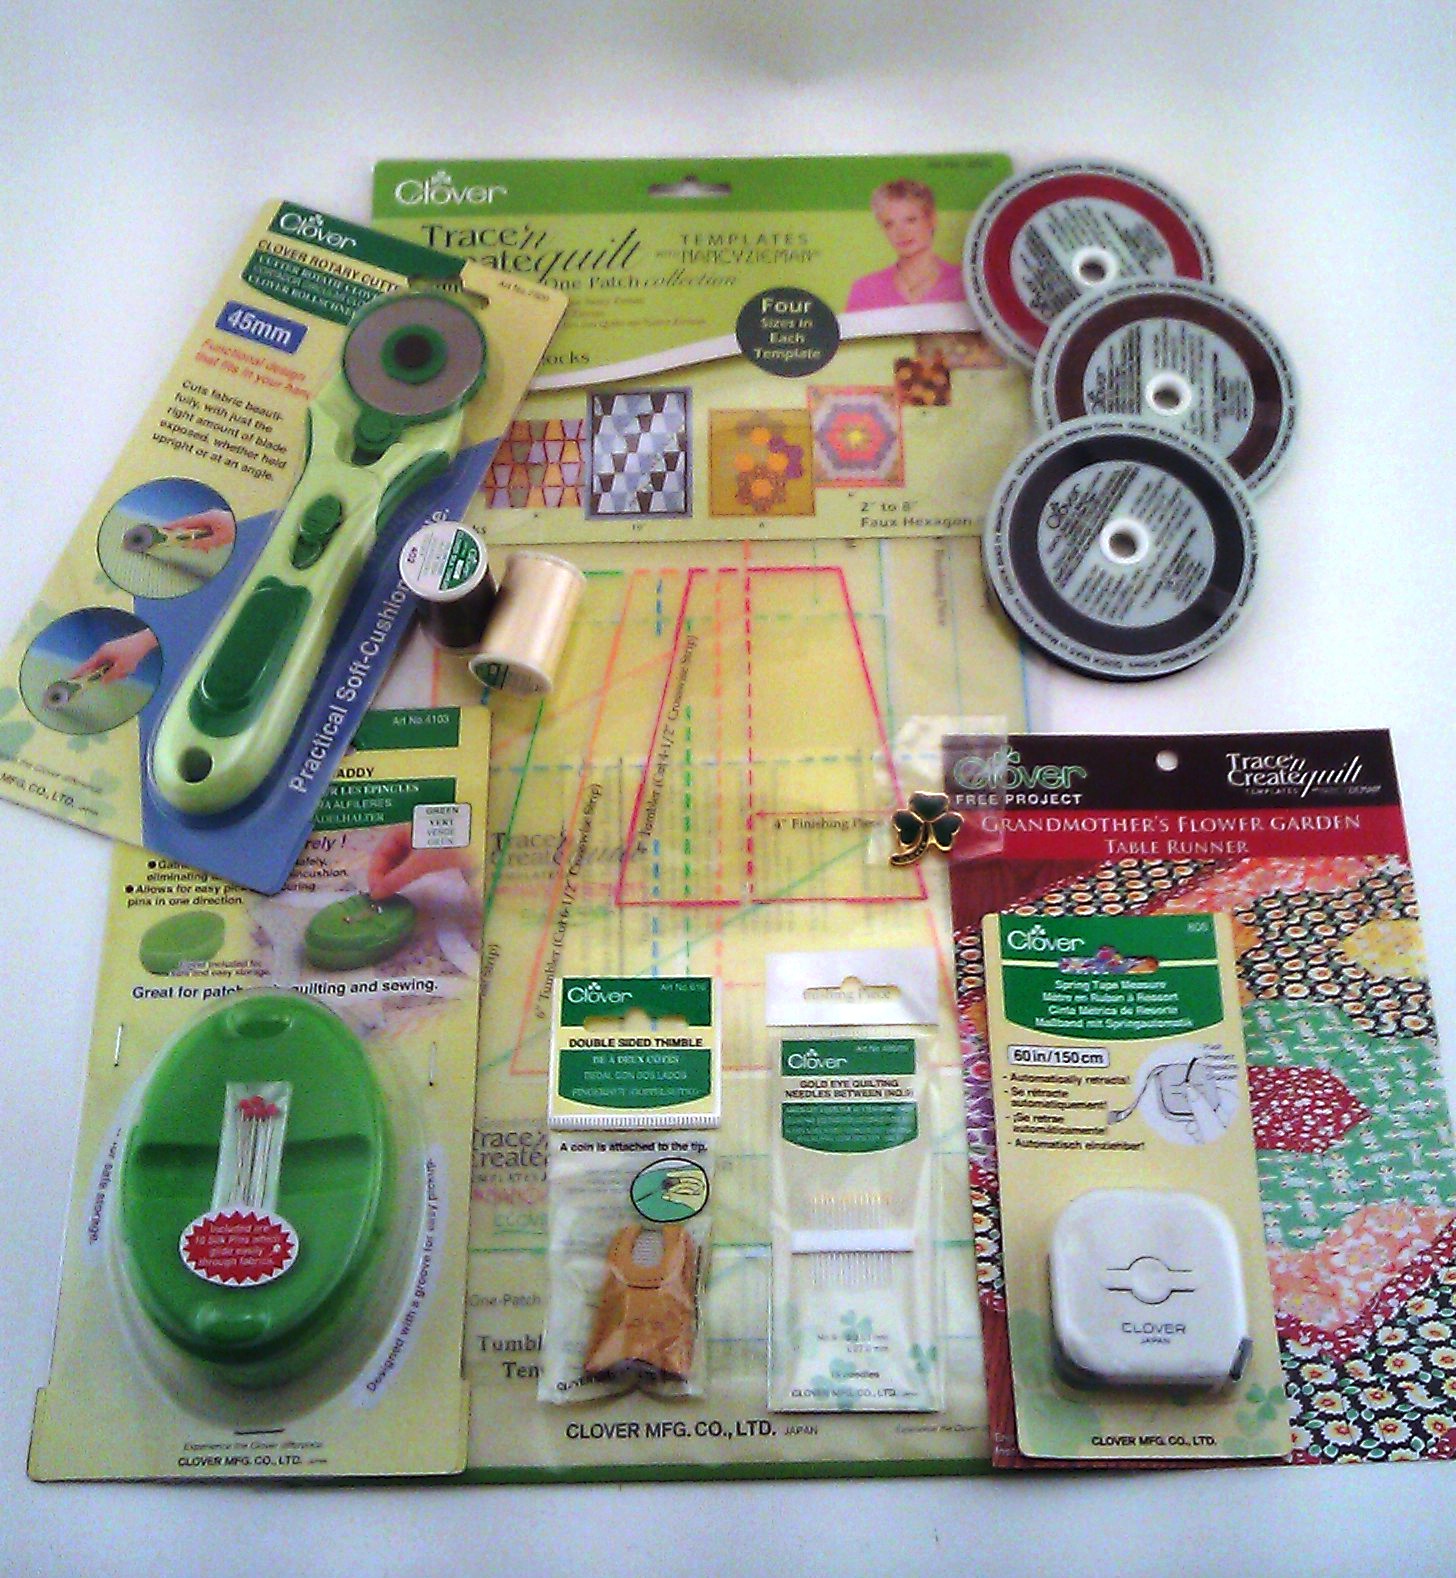
Here is a picture again of the wonderful Clover prize package that Nancy has up for grabs during the blog hop. Check out the blog link here for the details.


Thanks again for sharing this project with me. I had a lot of fun creating this on behalf of Brewer Sewing. If you have any questions you can email me or find me on facebook :)

~Liz ♥